Lap Belt Fitting
Fitting
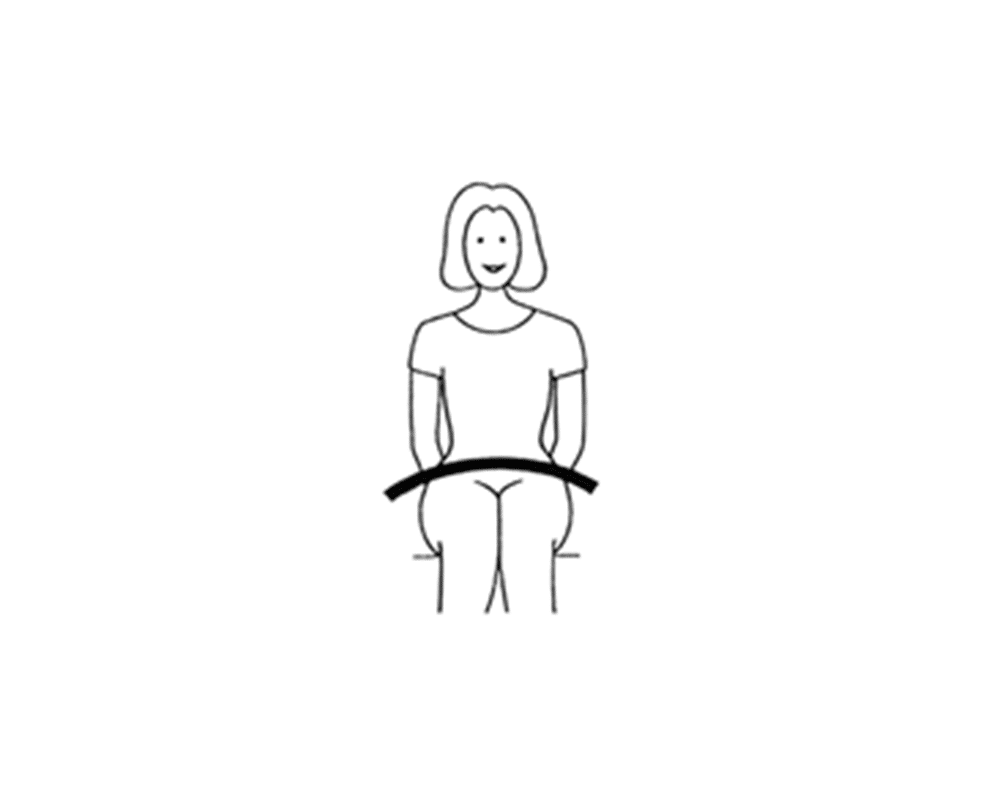
The webbing should pass across bone structure i.e. the lap (hips) and the buckle should lie on or just below the hip.
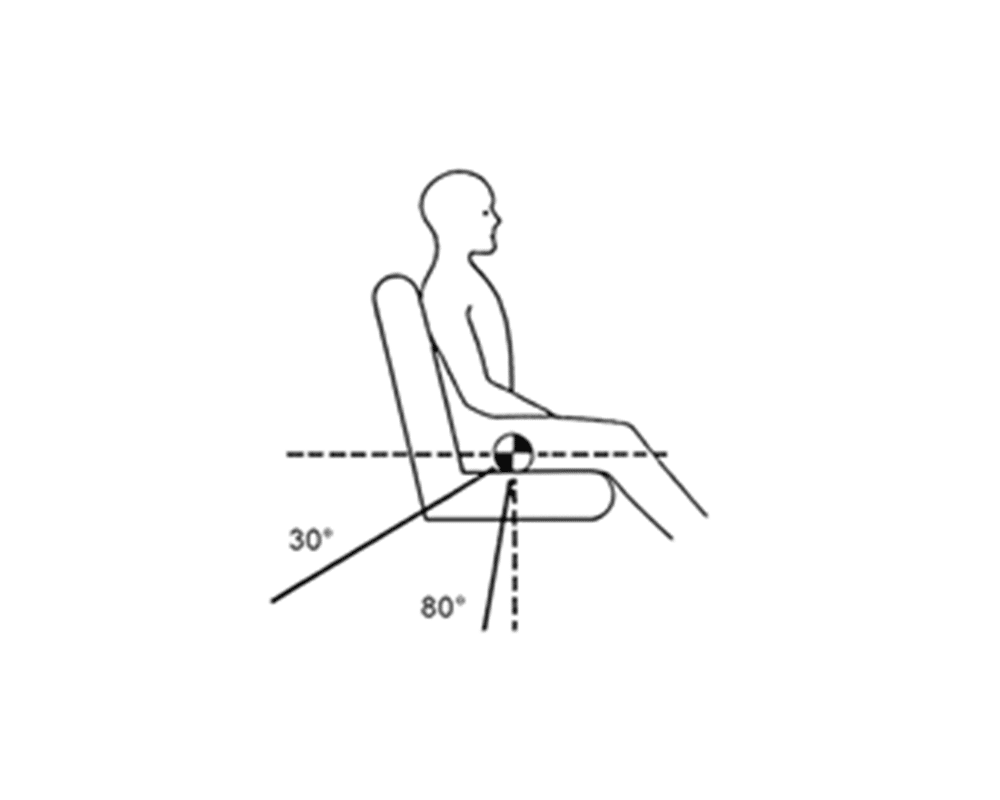
Anchorage points should be positioned behind the wearer’s hips between 30° and 80° below the height of the hips and at least 35cm apart (or 32cm to meet the DETR requirements for UK Buses & Coaches).
The installation of the seat belt, the quality of it’s manufacture and it’s connection to the vehicle ultimately determine the load that can be absorbed.
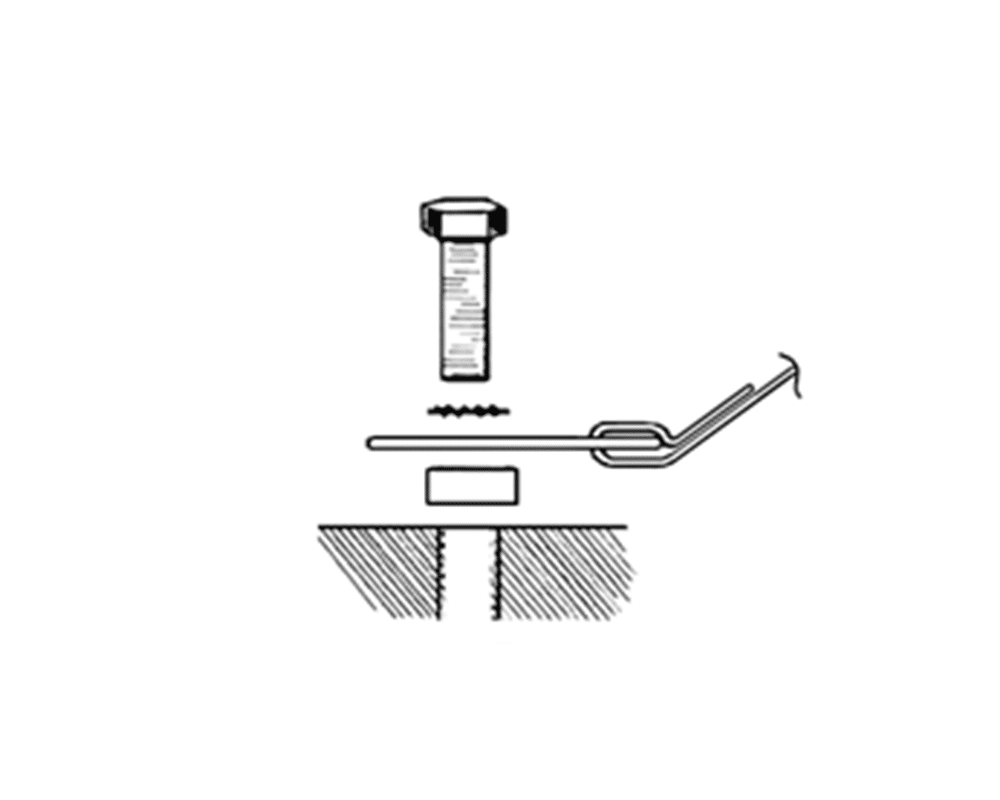
Wherever possible anchorages provided by the vehicle manufacturer should be used. In the event that these are not available a level of restraint can be provided by fabricating anchorage points on the chassis, seat, or sound metal section of the vehicle.
We recommend reinforcing the structure, around the hole created, ensuring there is no serious corrosion, distortion or fracture within 30cm of the anchorage point created. Where the belt is anchored to the seat frame, the frame must be securely attached to the vehicle.
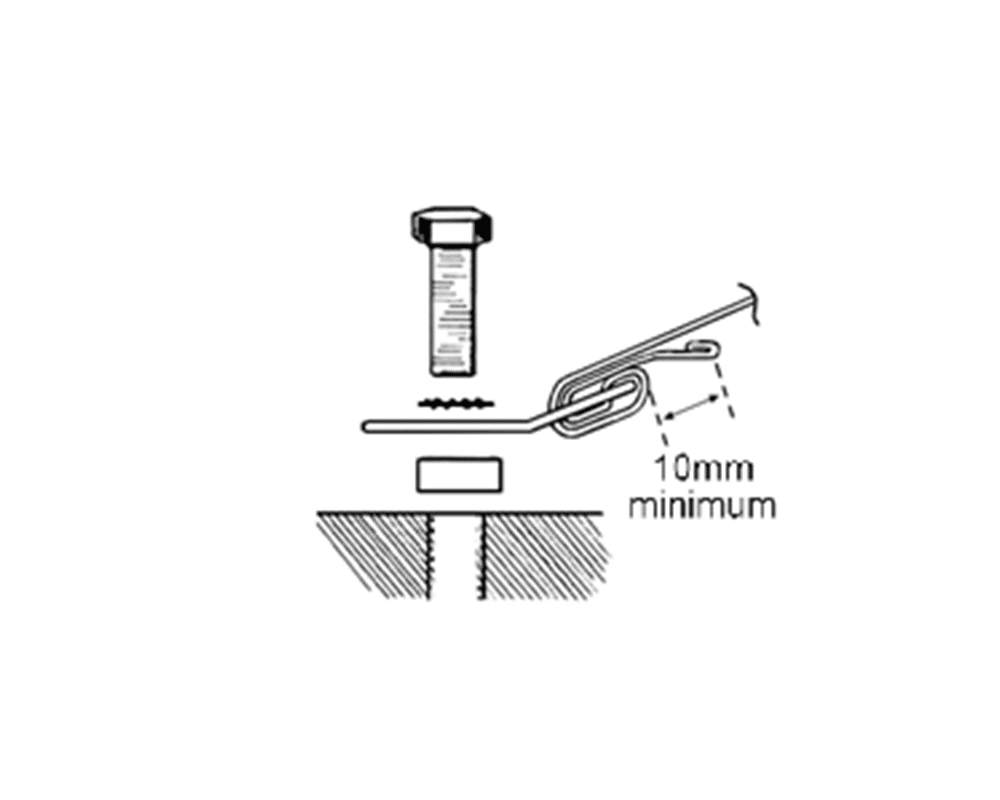
RAPID BELT (Loop fixing) Loop belt attachment ends should be prevented from moving in excess of 25mm. This can be achieved by attaching to intersection of frame.

Users and Maintenance Instructions
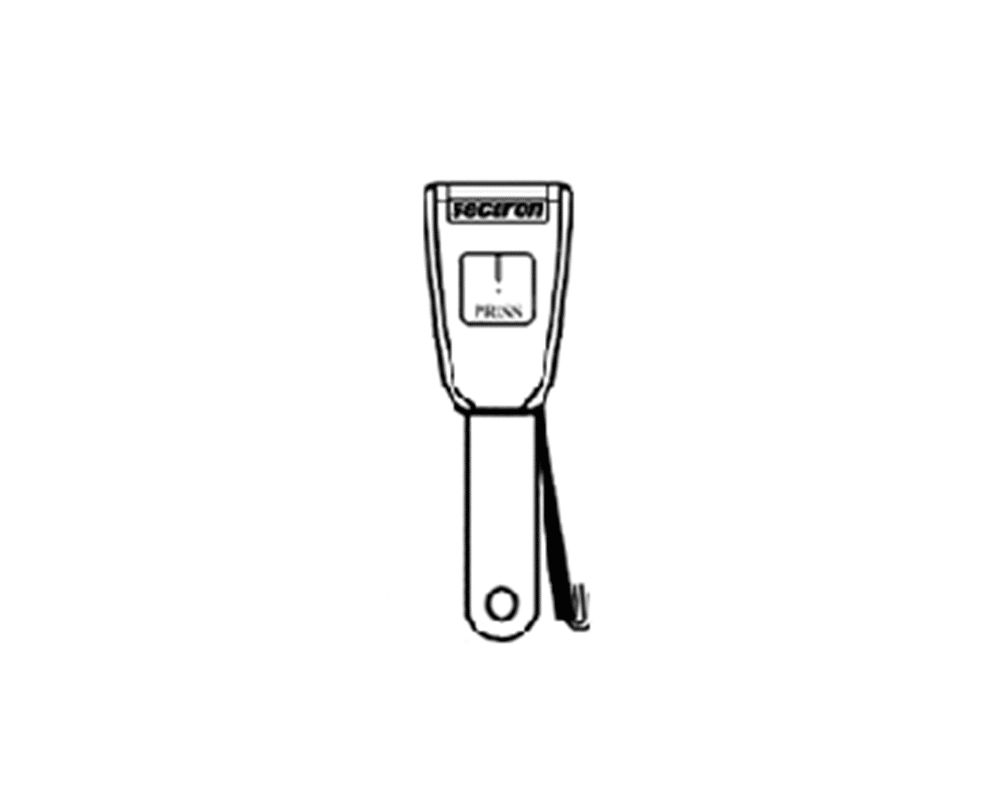
BUCKLE FASTENING: Insert belt tongue into buckle, a positive locking ‘click’ indicates engagement.
BUCKLE RELEASING: Press the red release button and the tongue will be released.
ADJUSTERS TIGHTENING: Pull free end of webbing through adjuster to achieve required length.
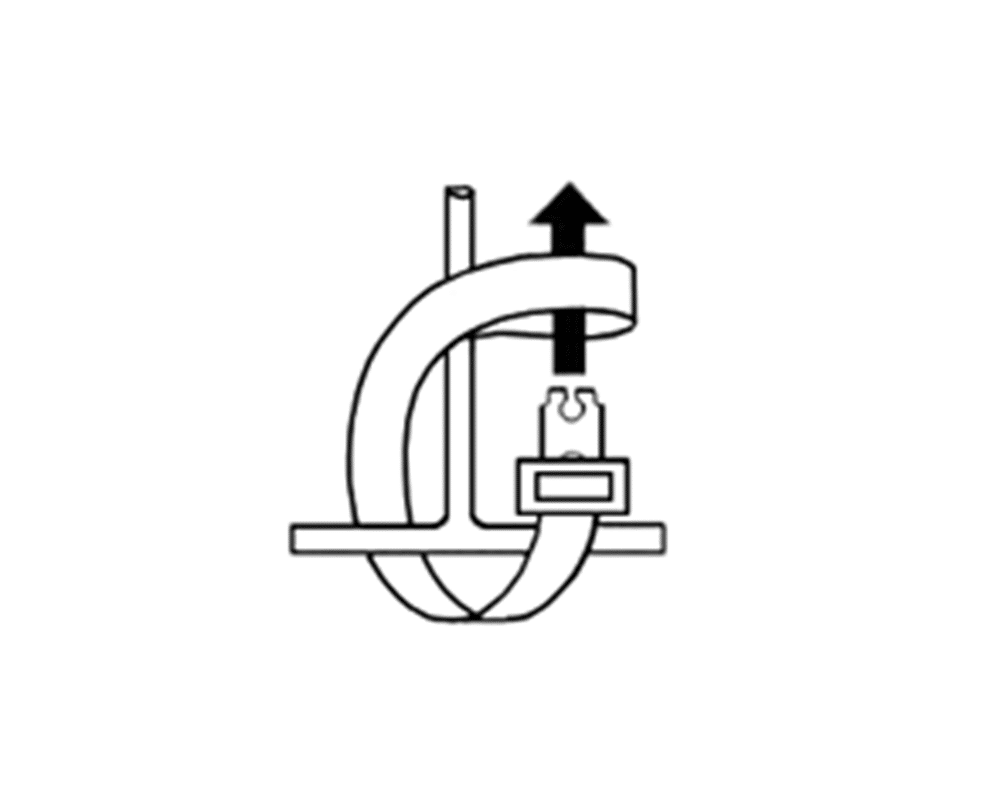
ADJUSTERS LOOSENING: Tilt adjuster and slide it along webbing until suitable length is reached.
Belts with Automatic Locking Retractors (Pt No’s starting 22)
- The webbing should be pulled from the retractor in one motion.
- These units automatically lock after the tongue is engaged in the buckle and a little webbing is retracted.
- Once the unit has been locked the webbing must be allowed to retract fully before it can once again be pulled out.
- To check Belts with Automatic Locking Retractors: pull the webbing fully from the retractor, allow a couple of inches to retract – further extraction should not be possible.
Belts with Manually Unlocking Retractors
- Hold down lever on retractor to allow webbing to release/retract as required.
- To check Belts with Manually Unlocking Retractors: when the lever is released it should not be possible to pull out the webbing.
Belts with Emergency Locking Retractors
- These must be installed & fixed at their intended design angle. They allow freedom of movement & lock in an emergency.
- To check Belts with Emergency Locking Retractors: tug sharply on webbing and observe that the retractor locks.
IMPORTANT
- These instructions should be passed to the owner / driver.
- A belt is designed to be used by only one person and not around a child seated on a passengers lap.
- It is important to wear the belt on each journey.
- It is not intended for children under 4 years old unless used with an appropriate restraint.
- The belt should at all times be adjusted and used in accordance with the instructions and should be a snug fit.
- Webbing must not be allowed to chafe against sharp edges.
- Avoid twisting webbing.
- Do not make alterations or additions to the belt. If in doubt consult the manufacturer.
- Belts that have been cut, frayed, damaged or used in an accident should be replaced.
- After an impact the belt & anchorages should be checked.
- To clean use warm soapy water only. Do not use chemical cleaners, bleach or dye.
- Contamination with petrol, grease and acid will be detrimental.
- Static belts should be stowed when not in use, to avoid damage.
